Introduction
If you're using Outlook 98 on a network, you can utilize the Plan a Meeting feature to
schedule meetings with others. The feature also lets you designate any resources needed
for the meeting, such as a conference room or equipment.
|
Step 1: Open the Plan a Meeting Feature

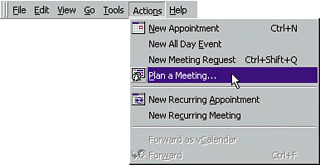
From the Calendar folder, open the Actions menu and select Plan a Meeting. This opens
the Plan a Meeting window.
|
Step 2: Enter the Attendees

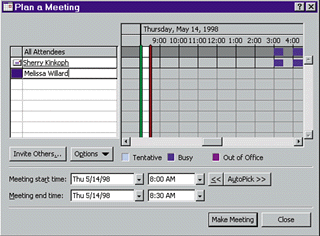
Enter the names of the attendees in the All Attendees list. Click Type Attendee
name Here and enter the first person's name. Continue entering names on each line,
as many attendees as you need.
|
Step 3: Set a Date

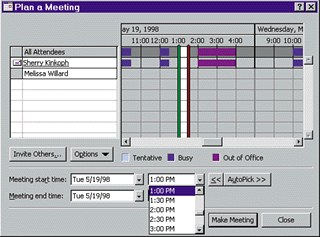
Click the Meeting start time drop-down arrows and choose a date and time for the meeting.
Use the Meeting end time drop-down arrows to specify an end time for the meeting.
|
Step 4: Or Drag A Time

Alternatively, you can drag the green bar in the schedule area to set a start time
for the meeting, and drag the red bar to set an end time. (It's difficult to distinguish
the colors on some monitors; just remember the bar to the left of the time increment starts
the time and the right bar sets an end time.)

|
Step 5: Fill In Meeting Details

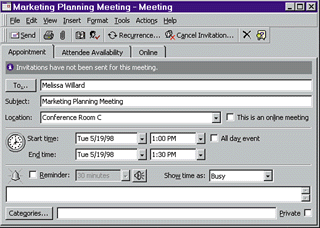
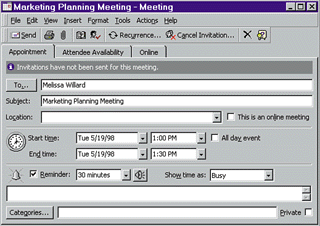
When you have finished planning the meeting attendees and times, click the Make
Meeting button. This opens the Meeting window, which resembles the Appointment form.
Refine the meeting details as needed.
|
Step 6: Send the Invitations

When you have finished filling out the meeting details, click Send to send email
invitations to the attendees. Click the Close button to exit the Meeting window.
|
