Introduction
Not all items you add to your schedule are appointments. Some items are events.
A calendar event is any activity that lasts the entire day, such as an anniversary,
conference, trade show, or a birthday. Use events in your daily calendar to block off
larger time slots than appointments. Events appear as banners at the top of the
Daily schedule.
|
Step 1: Open the Event Window

To schedule an event, open the Actions menu and choose New All Day Event. This opens the
Event window.

|
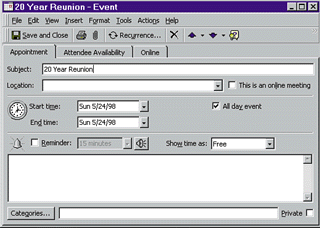
Step 2: Enter the Event Title
The Event window looks like the Appointment window. Fill in the details pertaining to
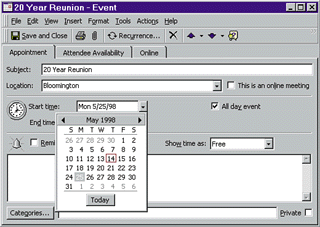
the event. Start by filling in a title for the event in the Subject text box and entering a
location in the Location text box.
|
Step 3: Enter Start and End Times
Use the Start time and End time drop-down lists to specify a time frame for the event.
|
Step 4: Set the All Day Event Option
Be sure to select the All day event check box (this option is what makes an event
different from a regular appointment).
|
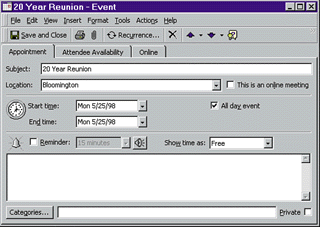
Step 5: Save and Close
When you have finished filling in the Event details, click the Save and Close button to
exit the Event window.

|
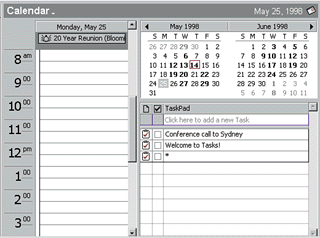
Step 6: The Event Is Saved
The event now appears as a banner at the beginning of the day in the schedule pane
(use Day view to see it).
|